
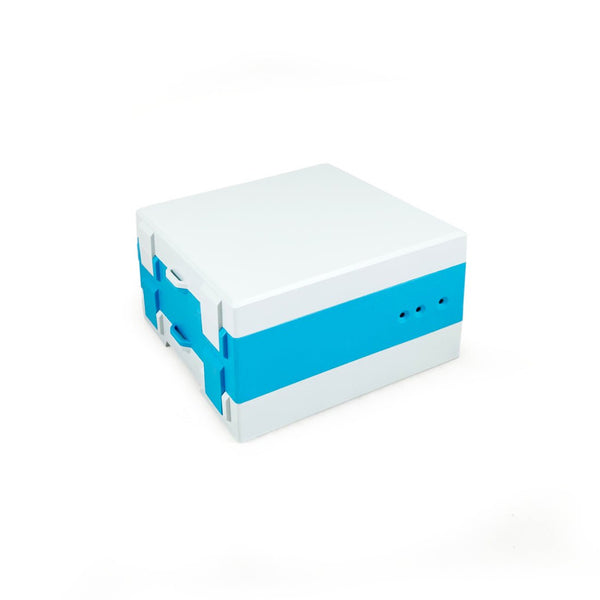
Manage a single meter, or thousands, from the cloud, free.
The EKM Push3 data system makes all of your submeters’ data securely available in the cloud. Manage all of your submeters remotely from a single software interface or with our Open API.


Revenue Metering
Visible & Billable Rental Property Submetering
-
Stop subsidizing your tenants and keep all of your rental income in your pocket!
-
Divide your utility bill according to actual user consumption.
-
Low hardware costs, and free data, allow you to recoup your investment in as little as a few months.
-
We offer basic or remote readable systems for electricity, water, and/or gas.

Let customers speak for us

Push never forgets. I have occasionally lost Internet service for several months. As soon as service returns, Push forwards missing data to the cloud.
EKM also provides exceptional support for their products. I always feel safe with EKM.

I bought 9 of these for an RV park. They are easy to install, and they work amazing. They have Ave me thousands of dollars in the first year!!!
I highly recommend them

Im in the rental business and we have two new duplex units with only one water meter per building. I purchased 4 Water Meters and Two Gas Meters. So Far on one duplex, I have two water meters and one gas meter along with electrical metering hooked up to one of these controller meters. Everything wires up easily right to the push computer. I have started playing around with the Billing software, it has some great features but im already thinking about building a Filemaker Database with more custom features using the API. Looking forward to using more of these in the future.

I purchased one of these meters 8 years ago and submitted a review (the first review on this web page). In that review I stated that my PLC that uses 24volts for most of its inputs burned out the reed switch in the meter when attached to one of these inputs.
That repaired meter has been working perfectly for 8 years (~a million gallons a year) on one of the PLC’s 5 volt inputs. About a month ago I decided to add a second meter to my water management system. I wished to use this meter on a second PLC and prefered to not add a 5 volt power supply. Replying to an inquiry from me, Seth informed me 24 volts should now be fine as long as I kept the current below 20 mA. I checked the current draw on my 24 volt inputs and found it to be less than 10 mA. I purchased the second meter and installed it using one of the 24 volt inputs and have now been using it for over a month (~1000 gallons per day) with no problems.
I have been very satisfied with these meters and am now planning to add a third one.

Worked great and easy to setup!!!!

I've had this installed 3 years now. I installed it in a protective housing above the small 115vac, single phase service panel. it has performed flawlessly ever since upon metering my tenant's usage.

The configuration of the meter makes it incredibly easy to install. I've verified the accuracy via a separate Emerson Coriolis mass flow meter and the accuracy is reasonable throughout a wide range of flows. There is a fairly high, (~5 psig @ 70psig,) pressure drop across the meter, but aside from that it seems to perform well. Hopefully it lasts. There’s no MTBF data posted for the units so only time will tell.

Works great. Built well.
Installed this unit in 10/2019 into a small waterproof electrical panel with a hinged lid subsequently attached to a 115VAC/30A RV panel. I use a flashlight to read the meter monthly. The product is easy to install for a person with moderate technical skill who possesses basic electrical knowledge. I mounted the panel to a 4 X 4 Pressure treated wood post. The instructions that came with the unit are easy to understand. The unit is powered by the 115VAC input line (via small tapped wires).
Please note that this meter is for SINGLE PHASE ONLY (typical RV usage).
I have purchased and installed hundreds of these meters to active a custom built hydrogen peroxide injection system for well water treatment. Rarely has there ever been an issue and customer support is always an email away and they ship so fast it’s uncanny.
I bought EKM's 3/4 inch water meter, EKM Push and EKM omni meter to measure water flow remotely as we supply water to 30 homes and need to know if any disruption to the supply water to tank. This is very economical and reliable device. Paid less than $800 dollar for all the three and I have a good tool now to measure the water. I connected it also to 2 inch Stenner old water meter as it can measure upto 3 meters. Water meter need to have pulse feature though. Free EKM cloud based dash software shows how much water was pumped both 2 inch meter and 3/4 inch meter. I can know minute to minute flow rates by logging into EKM free software's (3 software's are available). Cloud based system is free and no monthly charges. I strongly recommend this. Thank you for this great product.

I've been using their equipment for about a year and it's been fantastic!! However, more importantly, we had some issues with our electrician when they were installing the meter and EKM metering was SOOO helpful. They got back to us very quickly and also had recommendations that were easy to follow. (My electrician was doing something wrong and had nothing to do with EKM metering). EKM doesn't just sell you a product and then leave you to figure it out. They are there for your every step of the way. They spend time talking to the electrician on the phone to make sure everything was installed correctly and were sooo helpful and communicative. I could not be happier with this purchase. Huge thank you to Josh on their support staff!

Where else are you going to find a converter for $25 that works right out of the box. I have had one of these for almost 7 years and it still works like a champ. Thanks EKM.
We bought 66 omnimeters and 2 push products for our RV park in Canada. They worked perfectly right away and have helped us save thousands per month. Their communication is quick and efficient and they shipped our order right away. Even their after sales service is great!
I would highly recomend their products and service to anyone looking for submetering solutions.

Functions exactly as advertised! I am measuring Helium gas near a high magnetic field so I did have to be careful about the field strength the unit is subjected to, but it has operated flawlessly! The pulsed output is very easy to monitor with minimal additional hardware.
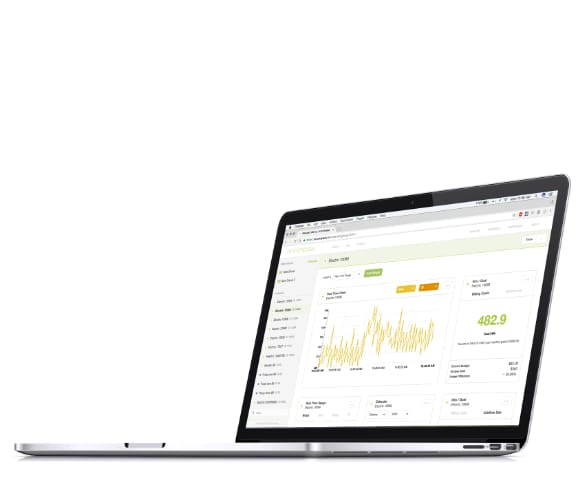
encompass.io – Data Dashboard, Reporting & Billing Solution
Encompass is our free online platform that allows you to aggregate submeter data, schedule usage reports, generate bills, and much more.
Cloud based real time & historical data, stored indefinitely. Free.
Real-time Data
Historical Data
* EKM Widget lite
Data Monitoring
Monitor data in real time or track trends over the long term
-
The EKM Push3 system provides free once/minute real time data, as well as summarized data that is stored indefinitely.
-
Encompass.io offers a great dashboard for data monitoring and reporting. Did we mention it's free?
-
Our system provides a rich dataset, particularly our electric meters, which report up to ~40 data points per meter read.
-
Analyze your data to track the performance of efficiency measures, electrical equipment, lighting systems, etc.

Business Customers


Just three steps. 😎 Lets get started!
Installer Directory
Need Help with an Install?
-
Find 3rd party installers in your area, by using our online Installer Directory
-
Sign up, for free, to offer your installation services to EKM customers. Signing up takes just a few minutes.
